
How to Clean a Pool After Winter Step by Step

Getting a pool open after months of cold weather comes down to taking off the cover cleanly, scooping out heavy floor leaves by hand, and shocking the water to kill lingering algae. How long that cleanup takes depends entirely on whether the water stayed clear or turned into a swamp. Skipping the manual scooping and rushing to run a vacuum will choke your pipes or burn out the pump motor before the season begins.
A few pool details will shift your plan along the way. Vinyl pools need soft nylon brushes so the liner never tears, while concrete handles stiffer scrubbing. Your equipment setup matters just as much, since sand filters let you pump heavy muck straight out to the yard, but cartridge systems catch all that sludge and need frequent rinsing. Following the right sequence protects your gear and turns cloudy water blue with far less hassle.
The Short Version
- Drain all standing puddles and scoop wet leaves off your winter cover before unclamping it, preventing dirty water from sliding into the pool.
- Scoop heavy leaf piles off the pool floor by hand with a deep mesh net before turning on your pump or using an automatic vacuum.
- Pull out winter pipe plugs, bring the water level halfway up the skimmer mouth, and prime the pump pot with water so the motor does not run dry.
- Check and adjust pH and alkalinity, scrub the pool walls to loosen algae film, and add a heavy chlorine shock to clear cloudy water.
Removing the Pool Cover Without Dumping Dirty Water
Opening your pool starts on top of the cover, not under it. Over the winter months, rain, snow, decaying leaves, and dirt form a heavy, stagnant puddle across the tarp. If you unhook the cover while that swampy mess is still resting on top, the weight will slip straight into your pool, turning your clean water black in seconds.
Follow these steps to pull the cover off cleanly:
- Pump off all standing water. Place a small submersible cover pump in the deepest sag of the cover. Let it pump the standing puddle onto your lawn or into an approved yard drain until the top of the cover is completely dry.
- Scoop off damp leaves. Use a soft pool broom or a light leaf rake without sharp metal teeth to sweep twigs and leaf sludge into a pile. Scoop that debris into a yard bucket so it cannot fall past the pool edge.
- Enlist a second person to help lift. Never try to drag a pool cover off alone. Stand at opposite ends of the pool, take hold of the corners, and slowly fold the cover back like an accordion. Keep the top surface folded inward so any remaining dust stays trapped inside the folds.
- Wash and dry before storage. Lay the cover flat on your driveway or lawn, hose it down with clean water, and let it dry in the sun. Storing a damp cover in a dark shed causes mold and rots the fabric. If you notice small tears or worn patches while washing it down, take a moment to patch and repair a pool cover before packing it away for the fall.
Scooping Heavy Floor Debris Before Turning on Equipment
Once the cover is off, you might see a dark carpet of leaves resting on the bottom. Resist the temptation to switch on your pump or drop an automatic cleaner into the water right away. Thick leaf sludge will instantly plug underground pipes, choke your skimmer baskets, and jam the pump impeller (the small spinning wheel inside the pump motor that pulls water). When the impeller binds up, the motor overheats and can burn out within minutes.
Use a manual leaf rake, which is a wide plastic frame fitted with a deep mesh bag. A flat skimmer net is meant only for floating bugs, but a deep bag net acts like an underwater shovel that holds large piles of wet leaves.
Run through this floor-clearing checklist before touching any equipment switches:
- Clear floating debris first: Skim the waterline and surface with your net to gather floating pine needles and leaves before they sink.
- Drag the bottom in slow, steady passes: Push your deep leaf net along the pool floor in long, continuous lines. Move slowly so your pole does not stir up water currents that kick debris back into suspension.
- Empty the net after every scoop: Wet leaves are surprisingly heavy. Empty each scoop into a trash bin immediately to keep excess weight from snapping your pole.
- Protect delicate surfaces: If you have a vinyl liner, make sure your net frame has rounded plastic edges. Never gouge sharp corners into the floor seams, because a winter-stiffened vinyl liner can tear easily. Concrete or plaster pools can handle firmer contact, but gentle passes still keep the water clearer.
Inspecting Pipes and Priming the Pump
Before circulating water, you must put the plumbing system back together. Winterization involves plugging lines and draining equipment to prevent freeze damage, so you need to reverse those steps carefully.
Start at the pool wall. Remove the rubber expansion plugs or threaded winter plugs from the skimmer openings and return jets. Thread the directional eyeball fittings back into the return wall ports, pointing them downward and in a circular pattern to encourage water movement around the pool.
Next, head over to the equipment pad. Reinstall the threaded drain plugs on the bottom of the pump strainer pot, the filter tank, and the heater. Check that the rubber O-rings on those drain plugs are soft and unbroken; if an O-ring is cracked, replace it so your pump does not suck in air.
Now verify the water level in the pool. Winter evaporation or water pumped off the cover often leaves the pool water too low. The water level must sit halfway up the skimmer mouth. If water is below that line, the pump will suck in air instead of water, lose suction, and run dry.
Safety around the equipment pad is critical. Make sure your pump plugs into an outdoor GFCI outlet (a protected ground-fault outlet with a weatherproof cover). Inspect the bare copper grounding wire running between your pump motor, heater, and pool shell. Proper electrical connections help bond pool water to keep swimmers safe from dangerous stray electrical currents. If you use a diatomaceous earth filter, make sure you know how to put DE in a pool filter without clogging pipes before you add fresh powder.
Once everything is connected and water levels are correct, you must prime the pump (filling the pump pot with water to start suction):
- Take the clear lid off the pump strainer basket.
- Fill the strainer pot with a garden hose or a bucket of water until water reaches the inlet pipe.
- Inspect the large rubber lid gasket, smear a light coat of silicone lubricant over it, and twist the lid tightly back into place.
- Open all suction valves leading from the skimmers and main drain.
- Open the manual air relief valve on top of your filter tank, then turn the pump motor on.
- Watch the pump pot. Water should begin swirling and fill the chamber within one to two minutes. When a solid stream of water shoots out of the filter air valve, close the valve firmly.
Balancing Water, Scrubbing Walls, and Adding Shock
With water flowing smoothly through the filter, you can begin clearing up the murk. Adding chemicals in the wrong order wastes money and leaves water cloudy for weeks. You must balance the water before shocking it, because high pH blocks chlorine from killing algae.
Use these steps to treat the water safely:
- Measure total alkalinity and pH: Dip a water check strip into the pool or use a liquid dropper kit. Alkalinity should sit between 80 and 120 parts per million. Your pH must read between 7.2 and 7.6. If pH is above 7.8, add a pH reducer (sodium bisulfate) to bring it down. When pH is too high, chlorine loses up to eighty percent of its sanitizing power.
- Scrub the entire pool shell: Algae forms a slimy protective skin called biofilm that clings to surfaces and shields algae cells from chlorine. Grab a wide pool brush and scrub every square foot of the pool walls, steps, floor corners, and the waterline tile band. Use nylon bristles for vinyl liner, fiberglass, and painted surfaces. Only use a stainless-steel wire brush if you have an unpainted concrete or gunite pool. Brushing tears open the algae colonies so chemicals can do their job.
- Add a heavy pool shock: Pool shock means adding a concentrated dose of chlorine to kill bacteria and algae blooms. Broadcast calcium hypochlorite shock granules or pour liquid chlorine around the perimeter of the deep end with the pump running. For a moderately cloudy pool, use one pound of shock per 10,000 gallons of water. If your pool is dark green or black, you will need a double or triple dose to break the bloom. Always add shock in the evening after sunset, because daytime sunlight burns off chlorine before it can kill the algae.
- Add an algae control treatment if needed: For stubborn green or yellow mustard algae, add a specialty non-foaming algaecide after shocking to keep blooms from rebounding as chlorine levels settle.
Running the Filter and Vacuuming the Settled Silt
Chemical shock kills living algae, but it does not make the dead algae vanish. Dead algae turns into a pale grey or milky cloud of fine dust that floats in the water. The only way to remove it is continuous filtering and patient vacuuming.
Keep your pool pump running twenty-four hours a day without stopping until the water is completely clear. Watch the pressure gauge on top of your filter tank. As the filter collects dead algae and silt, internal pressure climbs. When the gauge reads eight to ten pounds per square inch higher than its starting clean level, clean the filter. Backwash your sand or DE filter, or remove and spray down cartridge filter elements with a garden hose nozzle. A clogged filter cannot pull silt from the water.
If fine silt refuses to clear after three days of filtering, consider adding a pool flocculant (an additive that clumps tiny dirt specks together so they sink like a blanket to the floor). Turn off the pump overnight after adding the clumping liquid so the heavy sediment settles completely flat on the bottom.
Once dirt rests on the floor, clean it up by vacuuming to waste (pumping dirty water straight out through the backwash pipe rather than through the filter). Moving that fine silt through a filter can force it right back into the pool through the return jets. Set your multi-port valve to the waste position, attach your manual vacuum hose to the skimmer, and guide the vacuum head across the floor. Move very slowly; quick motions create underwater ripples that stir settled silt right back into the pool. Keep a garden hose running in the pool while vacuuming to waste so water levels do not drop below the skimmer mouth.
Choosing the Right Pool Cleaner for Spring Cleanup
Automatic pool cleaners save hours of work, but using the wrong type during spring opening can ruin your equipment. Never drop an automatic cleaner into a pool that still holds heavy winter leaf piles or thick branch debris. Automatic units are designed for regular upkeep, fine silt, and light debris, not for dredging leaf mulch.
Once you have scooped out the heavy leaves by hand and shocked the water, an automatic cleaner becomes a huge asset for pulling out lingering silt and algae dust:
- Robotic cleaners: These self-powered machines use their own internal motor and debris canister rather than relying on your pool pump. They plug into an outdoor GFCI outlet and scrub pool floors, walls, and waterlines. When choosing a robotic model for post-winter care, look for fine-mesh filter baskets that trap dead algae dust, anti-tangle swivel joints on the power cord, and rubber tracks that can climb slick spring surfaces. Always verify that the cord length covers your pool dimensions, keeping the control box at least 10 feet back from the water edge.
- Suction-side cleaners: These connect directly into your skimmer or dedicated vacuum suction port and use your pool pump to move. They work well for fine dirt on flat floors, but everything they collect goes straight into your pump strainer basket or filter tank. If your pool still holds winter dirt, you will need to empty your pump basket frequently to avoid restricting water flow.
- Pressure-side cleaners: These connect to the water return port and often use an extra booster pump. They blow water into a sweep bag attached to the cleaner. Because debris collects inside the onboard bag rather than entering your pool filter, pressure cleaners handle medium-sized spring leaves and seed pods without clogging your main plumbing lines.
Always remove any cleaner and power cord from the water before anyone swims, and turn off your pool pump before disconnecting suction hoses to protect your hands.
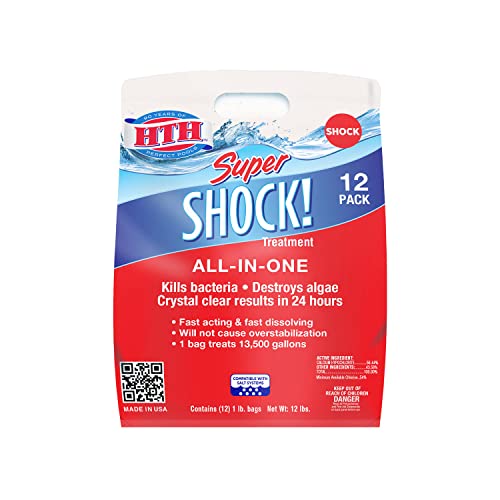
- VC Score9.4
BCP Score is a ranking system developed by bestcleanerproducts.com. BCP Score has no relationship or impact from any manufacturers or sales agent websites. Learn more
- BrandHTH
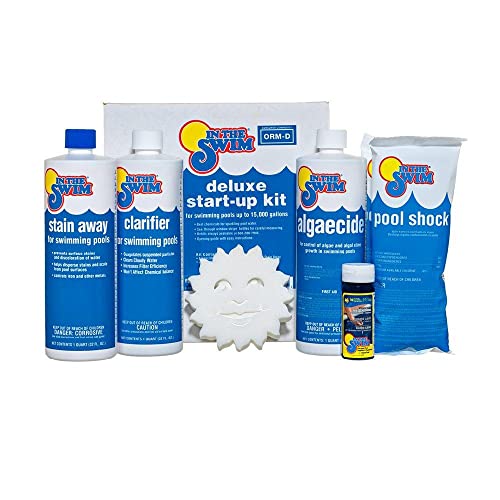
- VC Score9.2
BCP Score is a ranking system developed by bestcleanerproducts.com. BCP Score has no relationship or impact from any manufacturers or sales agent websites. Learn more
- BrandIn The Swim

- VC Score9.2
BCP Score is a ranking system developed by bestcleanerproducts.com. BCP Score has no relationship or impact from any manufacturers or sales agent websites. Learn more
- BrandOh Yuk

- VC Score9.0
BCP Score is a ranking system developed by bestcleanerproducts.com. BCP Score has no relationship or impact from any manufacturers or sales agent websites. Learn more
- BrandHTH Store
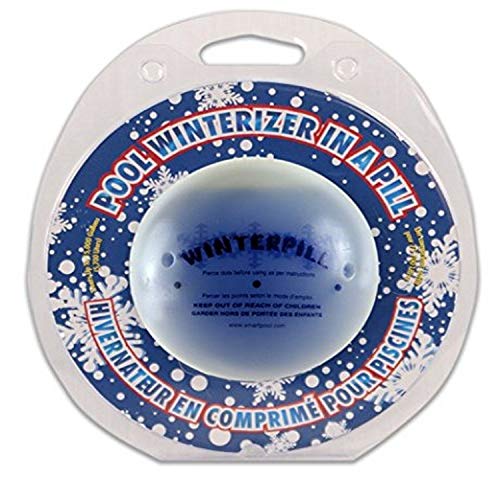
- VC Score8.8
BCP Score is a ranking system developed by bestcleanerproducts.com. BCP Score has no relationship or impact from any manufacturers or sales agent websites. Learn more
- BrandSeaKlear
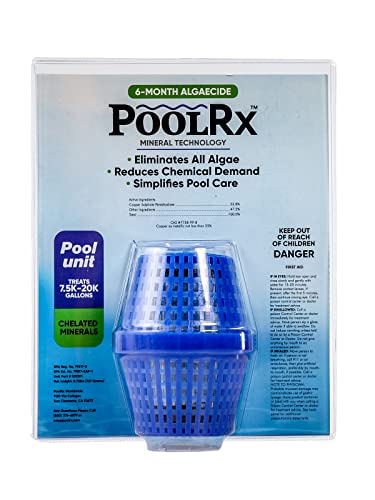
- VC Score8.8
BCP Score is a ranking system developed by bestcleanerproducts.com. BCP Score has no relationship or impact from any manufacturers or sales agent websites. Learn more
- Brandpoolrx

- VC Score8.6
BCP Score is a ranking system developed by bestcleanerproducts.com. BCP Score has no relationship or impact from any manufacturers or sales agent websites. Learn more
- BrandFLY HAWK
- VC Score8.6
BCP Score is a ranking system developed by bestcleanerproducts.com. BCP Score has no relationship or impact from any manufacturers or sales agent websites. Learn more
- BrandIntex

- VC Score8.4
BCP Score is a ranking system developed by bestcleanerproducts.com. BCP Score has no relationship or impact from any manufacturers or sales agent websites. Learn more
- BrandSunnyglade

- VC Score8.2
BCP Score is a ranking system developed by bestcleanerproducts.com. BCP Score has no relationship or impact from any manufacturers or sales agent websites. Learn more
- BrandVivlly

- VC Score8.0
BCP Score is a ranking system developed by bestcleanerproducts.com. BCP Score has no relationship or impact from any manufacturers or sales agent websites. Learn more
- BrandHTH
Last update on 2026-10-08 / Affiliate links / Images, Product Titles, and Product Highlights from Amazon Product Advertising API
FAQs
How long does it take for a green pool to clear up after winter?
Clearing a green pool usually takes between three and seven days. The timeline depends on how dark the algae bloom is, whether you scooped out all floor leaves, and whether you run your pump around the clock. Pools with heavy swamp water may require multiple shock treatments and repeated filter cleanings before returning to crystal clarity.
Can I use a robotic cleaner to vacuum winter leaf piles?
No, you should never use a robotic cleaner on heavy winter leaf piles. Thick clumps of wet leaves will clog the intake mouth, jam the internal drive impeller, and strain the motor. Always scoop out wet leaves and twigs by hand with a deep mesh net first, saving the robotic cleaner for the fine silt and sand left behind.
When is the pool water safe for swimming after spring opening?
Water is safe for swimming once free chlorine levels drop back into the normal range of one to four parts per million, pH measures between 7.2 and 7.6, and the water is completely clear. You must be able to see the main drain on the pool floor clearly from the deck. Never swim while heavy shock levels remain high or while electrical cleaner cords are in the water.
What should I do if my pool pump will not pull water after opening?
If your pump fails to pull water, check that the pool water level sits halfway up the skimmer mouth and confirm all suction valves are open. Turn the pump off, remove the strainer lid, and verify that the rubber lid O-ring is seated properly with fresh silicone lubricant. Fill the strainer pot to the brim with water again, seal the lid tightly, and restart the motor to draw suction.


How to Refinish a Fiberglass Pool

How Do You Keep Raccoons Out of Your Pool?

How to Fix Cyanuric Acid in Your Pool

How to Shape a Pool Cue Tip to Stop Miscues

12 Best Automatic Vacuum For Intex Above Ground Pool of 2026 To Keep Vinyl Floors Spotless

10 Best Automatic Pool Vacuum For Above Ground Pool of 2026 To End Manual Scrubbing

How Much Pool Clarifier Should You Use for Your Pool Size?

How Much Does a Pebble Tec Pool Cost to Build or Resurface?








