
How to Replace an LED Pool Light Without Draining the Pool

Head straight to the main breaker panel and switch off power to the pool light. Cutting electricity at the source makes it safe to replace the light fixture right from the pool deck without draining a single drop of water. Most setups have several feet of spare cord wound behind the fixture inside the round wall pocket. That built-in slack lets the whole unit rest safely on a towel beside the pool while you work.
What goes into the repair depends on your current equipment. Older fixtures take a simple screw-in bulb sealed with a fresh rubber ring, while modern designs use a fully sealed LED housing. Confirming the circuit voltage (standard 120-volt household power versus low-voltage 12-volt power) ensures the new part works without blowing a fuse. Following a careful order keeps the process smooth and protects the fixture from leaks.
The Short Version
- Cut the power completely: Switch off the main pool circuit breaker and flip the light switch off before touching anything near the water.
- Leave the pool filled: You do not need to drain your pool because the fixture cord is long enough to pull the whole light up onto the deck.
- Replace the rubber seal every time: Whenever you open the light housing, install a brand new gasket to keep water from getting inside and destroying the bulb.
- Check before remounting: Turn the power on for two seconds on the deck to confirm the new light works, check for air bubbles under water, and then secure the fixture back into the wall.
Power Cutoff and Safety Verification at the Breaker Panel
Working around water and electricity naturally makes people nervous, and it should. Water carries electrical current easily, so your first move is removing every ounce of power from the pool light circuit. Never rely on just a wall switch. Someone can walk by and flip a switch back on without realizing you are working at the edge of the pool.
Walk over to your main electrical panel or the dedicated pool sub-panel near your equipment pad. Look for the circuit breaker labeled for the pool light. Push that breaker handle firmly into the OFF position. If your pool equipment connects to an outdoor GFCI outlet (a protected ground-fault outlet with a weatherproof cover that instantly trips if moisture causes an electrical leak), inspect it as well.
Follow this quick safety checklist before picking up your tools:
- Shut off the pool light circuit breaker at the main electrical panel.
- Turn off the manual light switch on the patio or pool control box.
- Place a strip of tape over the circuit breaker switch handle so no one flips it back on while you work.
- Use a non-contact voltage sensor (a handheld wand that lights up or chirps when electrical current is present) at the switch or the junction box (the covered electrical box near the pool where the light cord connects) to confirm the wires are completely dead.
Removing the Fixture and Pulling It onto the Deck
Pool builders design underwater lights specifically so you never have to drain the pool for service. The light fixture sits inside a niche (the round pocket in the pool wall where the light sits). Coiled behind that fixture is several feet of extra electrical cord. That extra cord lets you bring the entire housing up onto the pool deck where you can work while staying warm and dry.
While you are kneeling at the pool edge, check the waterline. If you notice calcium scale or oily scum lines, learn how to keep pool tile clean without scratching it while the area is within easy reach.
Follow these steps to safely lift the light out of the water:
- Spread a large, thick bath towel on the pool deck right above the light to prevent scratches on your deck coping and the metal fixture faceplate.
- Kneel at the edge of the pool directly over the light fixture.
- Locate the single pilot screw at the top 12 o'clock position of the light faceplate.
- Loosen that screw using a standard screwdriver. Turn counterclockwise until the screw comes free, and place it in your pocket or a small container so it does not drop to the bottom of the pool.
- Tilt the top of the light housing forward away from the wall. The bottom of the fixture rests on a small metal tab or hook at the 6 o'clock position.
- Lift the housing upward slightly to unhook the bottom tab from the wall bracket.
- Gently pull the fixture upward to the surface. As you pull, the extra electrical cord stored inside the wall pocket will uncoil through the water.
- Set the entire fixture flat on your towel on the pool deck.
Opening the Fixture and Swapping the Bulb and Gasket
Once the fixture rests safely on the deck, you can open the housing. Most traditional pool lights consist of a metal back shell, a clear glass lens, a flexible rubber seal, and a circular metal tension band that clamps everything together with a bolt.
Inspect your fixture before taking it apart. If you have an older fixture designed for screw-in bulbs, you can swap just the internal bulb. If your fixture is a modern factory-sealed unit with no removable lens, the internal parts cannot be serviced individually. In that case, you will replace the complete housing and cord assembly instead.
For fixtures with replaceable bulbs, follow these steps:
- Use a dry towel to wipe all water off the outside of the fixture so moisture does not drip inside when you open it.
- Loosen the nut or screw on the circular metal clamp band that wraps around the edge of the glass lens.
- Remove the metal clamp band and gently lift off the glass lens.
- Peel off the old gasket (the flexible rubber ring that seals water out of the fixture) and throw it straight into the trash. Old gaskets become hard, flat, and brittle from pool chemicals. Reusing an old gasket almost always leads to a leak that ruins your new bulb.
- Check the inside of the metal housing. It should be bone dry. If you find moisture, wipe it dry and let it sit in the sun until all moisture evaporates.
- Unscrew the old bulb counterclockwise and screw your new LED replacement bulb into the socket. Turn it until it is snug, but do not force it so hard that you crack the socket base.
- Wipe the rim of the glass lens and the metal housing with a clean microfiber cloth to remove any dirt or grit.
- Stretch a brand new rubber gasket around the edge of the glass lens, making sure it sits straight and flat in its channel.
- Set the lens and new gasket back onto the metal housing, replace the clamp band, and tighten the clamp bolt gradually. Turn the bolt a few turns at a time so the clamp tightens evenly all the way around the rim without pinching the rubber.
Checking the Light Operation and Verifying the Water Seal
Never mount the fixture back into the pool wall before confirming that it lights up and seals out water. Taking five minutes on the deck saves you from having to pull the fixture out of the water a second time if something is misaligned.
LED pool bulbs generate heat and rely on pool water to stay cool during normal use. Running an LED pool bulb dry on the deck for several minutes can overheat the internal components. A two-second verification check, however, is completely safe and lets you know the electrical connection is solid.
Have an adult helper stand by the circuit breaker panel. Signal your helper to switch the breaker and light switch on for two seconds, confirm that the LED illuminates, and switch the breaker right back off. Do not touch the metal housing while the power is switched on.
Next, verify your water seal before locking the fixture into the wall:
- Keep the circuit breaker switched OFF.
- Pick up the assembled light housing by its metal rim and lower it into the pool water just below the surface.
- Hold the fixture submerged for one to two minutes.
- Watch the edge of the glass lens and clamp band closely. Look for any steady streams of tiny air bubbles rising toward the surface.
- A steady trail of bubbles indicates that water is entering the fixture past the seal. If you see bubbles, lift the fixture back onto the deck, dry it off, loosen the clamp, reseat the rubber gasket, and tighten it down again.
- If no bubbles appear after two minutes, your watertight seal is secure.
Coiling the Cord and Locking the Fixture Back into the Wall
Putting the fixture back into the pool wall takes a little patience because the extra cord must fit neatly behind the light. If the cord bunches up awkwardly, the fixture will stick out from the wall or refuse to lock into place.
Follow these steps to remount the light:
- Gather the power cord and wind it in smooth, wide circular loops around the back of the light fixture housing.
- Lower the fixture and the coiled cord into the pool water down toward the niche (the round pocket in the pool wall where the light sits).
- Slide the loops of cord flat into the back recess of the wall pocket so they sit completely behind where the fixture will rest.
- Angle the fixture forward slightly and catch the bottom metal hook of the light into the small notch at the 6 o'clock position on the bottom of the wall ring.
- Pivot the top of the fixture toward the wall until the faceplate sits completely flush against the pool surface.
- Line up the top screw hole of the faceplate with the threaded hole at the 12 o'clock position in the wall ring.
- Insert the pilot screw and tighten it by hand using your screwdriver. Never use a power drill here, because excess torque can strip the plastic or brass threads inside the wall pocket.
- Turn the circuit breaker and light switch back on to enjoy your pool lighting.
Warning Signs That Require a Licensed Electrician
Most pool light replacements are straightforward DIY maintenance jobs, but water and electricity leave no room for guesswork. If you spot any of the following warning signs, stop what you are doing, leave the circuit breaker off, and call a licensed electrician who specializes in pool electrical systems:
- Burn marks or melted insulation: Black soot, melted wire jackets, or charred metal inside the fixture or around the socket indicate serious electrical arcing or overheating.
- Water inside the electrical conduit: If water leaks back into your junction box (the covered electrical box near the pool where the light cord connects), the underground conduit pipe is cracked or improperly sealed.
- A breaker that trips instantly: If the circuit breaker or GFCI trips the moment you flip the power on, even when the fixture is completely dry, there is a short circuit in the wiring.
- Damaged power cord: If the heavy rubber jacket on the cord is split, stiff, cracked, or has bare copper exposed anywhere between the wall pocket and the deck, pulling the light through the water is hazardous.
- Corroded or broken bonding wire: Inground pool niches contain a heavy copper wire attached to the back of the pocket that protects swimmers from stray voltage. If that wire is detached, corroded through, or missing, the pool is not electrically safe.
If you encounter these wiring defects near the end of the swim season, leave the power disconnected and read how to prepare your pool for winter to prevent freeze damage while you wait for a professional repair in the spring.
Choosing the Right Replacement Light for Your Pool
When selecting replacement pool equipment and lighting components, verifying your pool's electrical specifications beforehand prevents costly mistakes. Replacement LED options fall into two main categories: screw-in LED bulbs that fit your existing housing, and fully sealed, complete LED fixtures that replace the housing, lens, and cord all at once.
The most critical factor to check is operating voltage. Swimming pool lights run on either standard 120-volt household electricity or low-voltage 12-volt power. Low-voltage systems use a transformer (a box that drops household 120-volt power down to 12 volts), which usually mounts near your pump and filter pad. If you screw a 12-volt LED bulb into a 120-volt light fixture, the bulb will burn out instantly with a loud pop when you flip the switch. If you put a 120-volt bulb into a 12-volt system, the light will not turn on at all.
Check the label on your old bulb, inspect the sticker inside the metal light housing, or examine the junction box near your pool equipment to confirm your voltage before ordering. If you are replacing a complete fixture rather than just the bulb, measure the distance from the pool light niche through the conduit pipe to your junction box so you purchase a cord with adequate length.
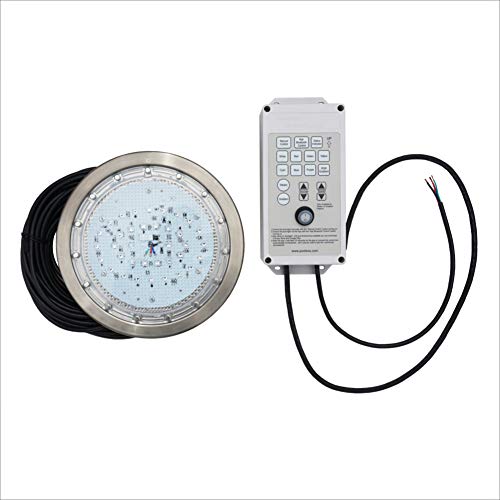
- VC Score9.0
BCP Score is a ranking system developed by bestcleanerproducts.com. BCP Score has no relationship or impact from any manufacturers or sales agent websites. Learn more
- BrandPoolexa
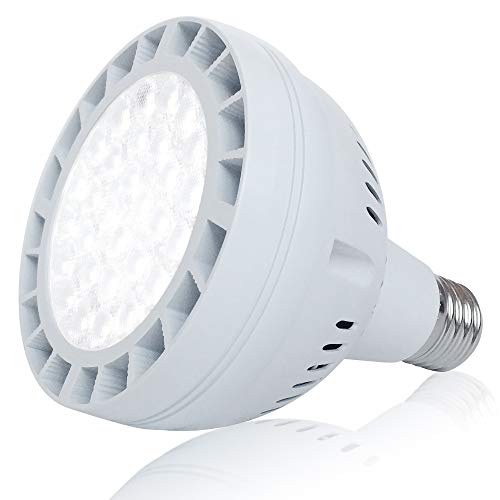
- VC Score8.4
BCP Score is a ranking system developed by bestcleanerproducts.com. BCP Score has no relationship or impact from any manufacturers or sales agent websites. Learn more
- BrandAllisable

- VC Score8.4
BCP Score is a ranking system developed by bestcleanerproducts.com. BCP Score has no relationship or impact from any manufacturers or sales agent websites. Learn more
- BrandYU MEIL

- VC Score8.2
BCP Score is a ranking system developed by bestcleanerproducts.com. BCP Score has no relationship or impact from any manufacturers or sales agent websites. Learn more
- BrandHayward

- VC Score8.0
BCP Score is a ranking system developed by bestcleanerproducts.com. BCP Score has no relationship or impact from any manufacturers or sales agent websites. Learn more
- BrandWiyifada
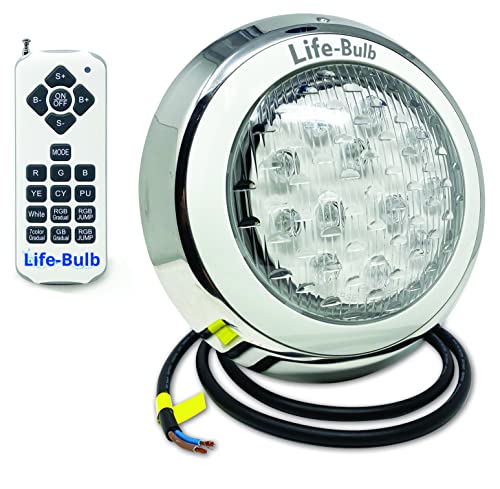
- VC Score8.0
BCP Score is a ranking system developed by bestcleanerproducts.com. BCP Score has no relationship or impact from any manufacturers or sales agent websites. Learn more
- BrandLife-Bulb

- VC Score7.8
BCP Score is a ranking system developed by bestcleanerproducts.com. BCP Score has no relationship or impact from any manufacturers or sales agent websites. Learn more
- BrandBroadroad

- VC Score7.6
BCP Score is a ranking system developed by bestcleanerproducts.com. BCP Score has no relationship or impact from any manufacturers or sales agent websites. Learn more
- BrandXIUBE
Last update on 2026-10-08 / Affiliate links / Images, Product Titles, and Product Highlights from Amazon Product Advertising API
FAQs
Do I need to drain the pool to change the light?
No, you never need to drain your pool to replace an underwater light. Pool light fixtures are installed with several feet of extra electrical cord coiled up inside the wall niche. You simply remove a single mounting screw at the top of the fixture and lift the entire housing up onto the pool deck to work on it dry.
How do I know if my pool light is 12 volts or 120 volts?
Check the label on the back of your existing bulb or the sticker inside the metal light fixture housing. You can also look near your pool pump equipment pad for a transformer box. If your light circuit runs through a separate transformer box, your pool light is a low-voltage 12-volt system; otherwise, it runs on standard 120-volt household power.
Can I replace just the bulb, or do I need a whole new fixture?
You can replace just the bulb if your light fixture uses a traditional removable glass lens held in place by a metal clamp band. If your existing light is a modern, factory-sealed LED light fixture with no removable lens, the internal diodes cannot be replaced separately and you must replace the entire fixture and cord assembly.
What happens if water leaks into the light fixture?
If water gets past a worn or misaligned rubber gasket, it will fill the fixture housing and create an electrical fault. This will immediately blow your new LED bulb and trip your circuit breaker or GFCI switch. The GFCI protects swimmers by shutting down power within milliseconds, but water in the fixture destroys the bulb and requires you to open and dry the housing again.


How to Refinish a Fiberglass Pool

How Do You Keep Raccoons Out of Your Pool?

How to Fix Cyanuric Acid in Your Pool

How to Shape a Pool Cue Tip to Stop Miscues

12 Best Automatic Vacuum For Intex Above Ground Pool of 2026 To Keep Vinyl Floors Spotless

10 Best Automatic Pool Vacuum For Above Ground Pool of 2026 To End Manual Scrubbing

How Much Pool Clarifier Should You Use for Your Pool Size?

How Much Does a Pebble Tec Pool Cost to Build or Resurface?








