
How to Safely Remove a Vacuum Roller

Opening the bottom plate frees the roller. After cutting power for safety, turn the cleaning head upside down to release the bottom cover plate. Once that plastic guard lifts away, raise one end of the brush and slide it clear of the drive belt or motor peg without forcing anything.
The exact release method depends on your machine style. Cordless stick models often use tool-free slide tabs or coin-turn slots on the side, while upright vacuums usually secure the base with small screws. Some rollers slip straight off an internal drive peg, while others sit inside a stretchy rubber belt that needs gentle wiggling. Knowing which setup you have keeps you from snapping delicate plastic latches or overstretching the belt. Here is how to unlock the base and pull the roller out cleanly.
Unplug the machine and clear a flat workspace
Accidental starts are the biggest hazard when servicing a vacuum cleaner. A rotating roller brush spins at thousands of revolutions per minute, which can pull in loose clothing or pinch your fingers. Unplugging the power cord from the wall outlet guarantees the motor cannot start while your hands are inside the cleaning head.
If you have a battery-powered stick vacuum, disconnect the battery pack from the handle completely. Power triggers on cordless models are easy to press by accident when flipping the machine over. While you might wonder how much is a new battery for a cordless vacuum in 2026 if your unit stopped, an abrupt shutdown is often just a safety sensor reacting to a jammed roller. Removing the battery pack resets the circuit and keeps your fingers safe.
Once power is cut, detach the floor nozzle from the extension wand or hose. Working on a detached head is much easier than wrestling with the entire vacuum body.
Set up your workspace on a clear table or bare floor. Lay down an old bath towel or cardboard first. When you flip the head upside down, trapped sand, pet hair, and grit fall out of the intake chute. A towel catches this debris and keeps small screws from rolling away. Keep a flathead screwdriver, a Phillips screwdriver, and a coin nearby.
Release the bottom cover plate without forcing clips
Look closely at the bottom cover plate, which protects the underside of the vacuum head. Manufacturers use three primary locking designs to hold this plastic plate in place. Examine the surface under bright light before applying force, because plastic tabs snap easily when pulled the wrong way.
Tool-free slide latches are common on lightweight uprights and cordless stick vacuums. These appear as small plastic sliders or squeeze buttons, usually highlighted in red or gray. Slide the tabs toward the center or push the release button in the direction of the arrow. Once unlocked, the cover plate swings open on a hinge or lifts away cleanly.
Coin-turn dials are popular on many modern cleaning heads. These look like round plastic screws with a wide, shallow slot across the center. Insert a quarter or a wide flathead screwdriver into the slot. Turn each dial a quarter turn to the left, moving the arrow from the locked padlock to the unlocked padlock symbol. The plate will pop loose with minimal effort.
Recessed screws are typical on heavy-duty upright vacuums. These screws sit inside deep holes on the bottom plate to prevent scratching your floors. Use a screwdriver that matches the screw heads snugly so you do not strip the metal. Set the screws aside on your towel in the pattern you removed them, as some models use different screw lengths along the front edge.
Lift the free end to slide off the belt
With the bottom cover plate removed, you can see the spinning brush roller resting inside its plastic cradle. Before pulling on the roller, identify how the motor powers it. Vacuums use either a rubber loop that turns the roller (a drive belt) or an internal motor peg that slots directly into one end.
Find the non-driven end of the roller first. The driven end connects to the belt or motor peg, while the non-driven end rests in a smooth bearing cup. Always release the free, non-driven end before touching the drive side.
Follow these steps to free the roller cleanly:
- Grip the roller near the non-driven end. Lift this end straight up and out of its plastic channel.
- Tilt the roller at an upward angle toward the drive side. This tilt creates slack and prevents strain on internal brackets.
- Slip the rubber loop off the roller pulley if your vacuum uses a belt. If your model uses an internal motor peg, pull the roller straight outward away from the peg until the drive teeth separate.
- Slide the entire roller out of the cleaning head housing. Check both ends to see if small plastic end caps or washers come off with it.
Do not yank if tangled hair holds the roller to the housing walls. Long strands can wrap tightly around the internal axle, acting like a tether. Snip those strands with scissors before lifting the roller completely out to prevent cracking the plastic casing.
Cut tangled hair lengthwise to protect the soft bristles
When pet fur and long hair wind tightly around the roller, friction increases rapidly. The spinning roller acts like a spool, pulling strands tighter with every rotation until the motor stalls or friction melts the plastic roller core. Cutting this hair free restores balance and stops that burning odor.
Look along the length of the roller for a shallow groove molded into the plastic body between the bristle strips. This channel allows you to slide the dull edge of scissors or a specialized hair-cutting hook beneath the hair mat without damaging the soft nylon bristles. Slide your tool along this groove from one end to the other, slicing through the bound hair in a straight line.
Once cut lengthwise, peel the hair off with your fingers. Never slice across the bristles or pull sideways with heavy shears, because cutting the bristles reduces the brush's ability to sweep dust from carpet fibers.
After clearing the main cylinder, check the removable plastic ends of the roller (often called end caps). Hair loves to work behind these caps, wrapping around the metal bearings and creating drag. Pull the end caps straight off the roller ends using your fingers or a small flathead tool.
Clean out trapped lint balls and wound threads packed behind the caps. Check that the small internal bearing turns smoothly when spun with your fingertips. If hair melted into the plastic cap, scrape it away gently so the roller can spin freely.
Seat the drive peg before locking the cover
Reinstalling the roller requires proper alignment so the motor does not bind when you switch the vacuum back on. Inspect the roller ends first, as the two sides are shaped differently to prevent backwards installation. One side is keyed to match the motor gear, while the other side is round.
Follow these steps to seat the roller correctly:
- Push the cleaned end caps firmly back onto the metal shafts on both ends of the roller. Ensure any rubber bushings sit flush against the roller body.
- Loop the rubber drive belt around the metal motor shaft inside the housing if your vacuum uses a belt. Then, guide the belt over the grooved pulley section of the roller.
- Insert the drive end of the roller into its housing slot first. Make sure the belt sits centered in its track without twisting. For direct-drive vacuums, align the flat spots or teeth of the roller with the motor peg and push it firmly into place.
- Drop the non-driven end down into its designated cradle. The bearing blocks often have flat edges that line up with slots in the vacuum frame.
- Spin the roller by hand three or four full turns toward the suction inlet. This manual spin verifies that the belt tracks centered and the roller spins freely without rubbing against the housing walls.
Once the roller turns smoothly by hand, place the bottom cover plate back over the head. Press down until you hear the tabs click into position, or tighten the coin dials and screws until snug.
Check the belt and bearings if the roller stalls
If you turn on your vacuum after reassembly and the roller refuses to spin, do not panic. Modern vacuums contain built-in safety controls designed to prevent motor damage when something binds. Work through this quick checklist to find the cause:
- Verify the roller switch setting. Many upright vacuums feature a separate switch or foot pedal for the roller brush. If the handle is locked upright or set to bare floor mode, the roller stays stationary. Recline the handle and switch the unit to carpet mode.
- Check the rubber drive belt placement. If the belt slipped off the motor spindle while snapping the bottom plate shut, the motor hums without turning the brush. Open the plate and ensure the belt is taut in its groove.
- Inspect the end cap alignment. If an end cap was inserted backward or slightly crooked, the plastic casing will pinch the roller when the bottom plate is fastened down. Loosen the cover plate slightly to see if the roller turns freely by hand. If it binds only when tight, re-seat the end caps.
- Allow the thermal safety switch to cool down. If the roller jammed hard enough to create a burning smell before cleaning, the vacuum's thermal protector likely tripped to prevent motor burnout. Unplug the machine and let it sit undisturbed for 30 to 45 minutes to let the internal circuit reset.
- Check the electrical connection neck. On cordless stick vacuums and electric wands, small metal contact pins send power down to the motor inside the floor nozzle. Detach the cleaning head, wipe dust from the pins with a dry cloth, and click the parts back together.
Choose the right replacement parts and hair tools
Regular maintenance keeps your vacuum running smoothly, but heavily worn rollers and stretched belts eventually need replacement. When hair wraps around a roller brush for extended periods, the heat generated by friction can warp the plastic axle or melt the internal bearings. If your roller wobbles, makes a loud screeching noise, or has missing bristle tufts, replacing the roller restores full carpet cleaning power.
When shopping for replacement parts, verify the exact style of roller your floor nozzle requires. Multi-surface uprights typically use bristle rollers with stiff nylon bundles designed to lift dirt from carpet piles. Stick vacuums and bare-floor nozzles often use soft roller brushes made of dense microfiber, which sweep hard floors without scratching wood finishes. Matching the roller surface to your flooring prevents scuffing and improves suction seal.
Check the attachment fittings and end cap profiles before purchasing any replacement roller. The shape of the drive peg (such as a square hub, a hex head, or a gear-toothed insert) must match your vacuum's drive spindle perfectly. Measuring the total roller length down to the millimeter guarantees it will slot into the existing cradle without rubbing against the side walls.
A dedicated cleaning tool makes future maintenance significantly easier. Handheld tools featuring a recessed safety razor hook and a small stiff-bristled brush allow you to slice away wrapped hair safely without dulling your scissors or cutting the vacuum's bristles. Using these tools every few weeks keeps hair from packing behind the end caps, preventing motor jams and extending the life of your vacuum head.

- VC Score10.0
BCP Score is a ranking system developed by bestcleanerproducts.com. BCP Score has no relationship or impact from any manufacturers or sales agent websites. Learn more
- BrandEiodoni

- VC Score9.6
BCP Score is a ranking system developed by bestcleanerproducts.com. BCP Score has no relationship or impact from any manufacturers or sales agent websites. Learn more
- BrandEESC2Y

- VC Score9.4
BCP Score is a ranking system developed by bestcleanerproducts.com. BCP Score has no relationship or impact from any manufacturers or sales agent websites. Learn more
- BrandKlypticfit

- VC Score9.0
BCP Score is a ranking system developed by bestcleanerproducts.com. BCP Score has no relationship or impact from any manufacturers or sales agent websites. Learn more
- BrandTweruna

- VC Score9.0
BCP Score is a ranking system developed by bestcleanerproducts.com. BCP Score has no relationship or impact from any manufacturers or sales agent websites. Learn more
- BrandHIFEASTS
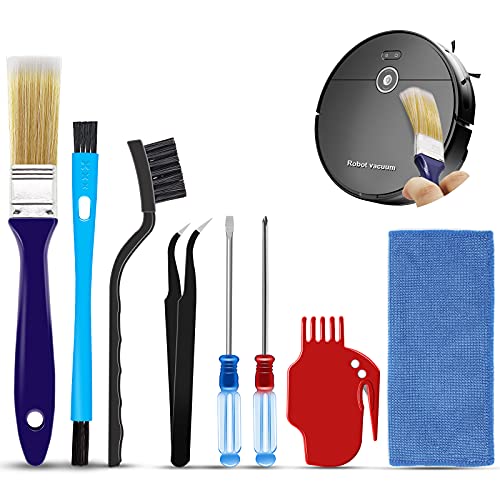
- VC Score9.0
BCP Score is a ranking system developed by bestcleanerproducts.com. BCP Score has no relationship or impact from any manufacturers or sales agent websites. Learn more
- BrandMidukit

- VC Score8.8
BCP Score is a ranking system developed by bestcleanerproducts.com. BCP Score has no relationship or impact from any manufacturers or sales agent websites. Learn more
- BrandChomChom Roller
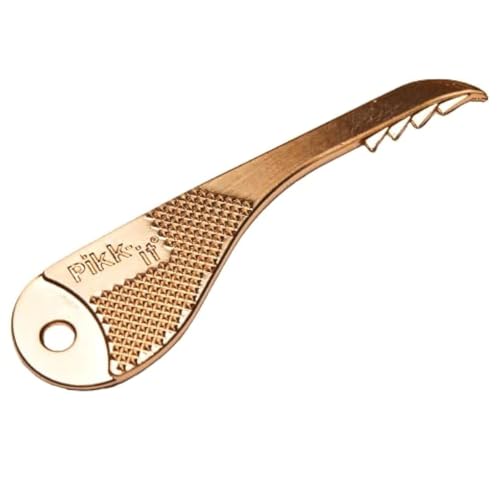
- VC Score8.6
BCP Score is a ranking system developed by bestcleanerproducts.com. BCP Score has no relationship or impact from any manufacturers or sales agent websites. Learn more
- BrandPikk-it

- VC Score8.6
BCP Score is a ranking system developed by bestcleanerproducts.com. BCP Score has no relationship or impact from any manufacturers or sales agent websites. Learn more
- BrandDYMOLL
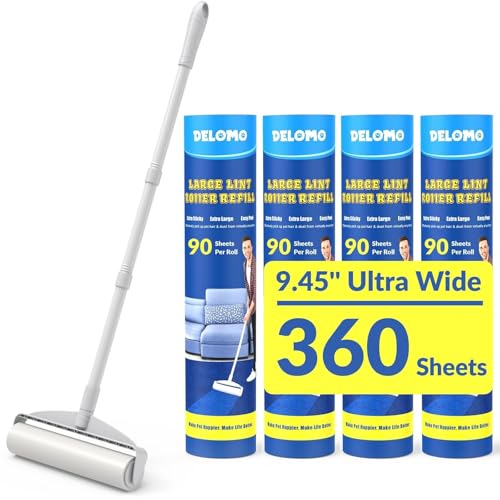
- VC Score8.6
BCP Score is a ranking system developed by bestcleanerproducts.com. BCP Score has no relationship or impact from any manufacturers or sales agent websites. Learn more
- BrandDELOMO

- VC Score8.4
BCP Score is a ranking system developed by bestcleanerproducts.com. BCP Score has no relationship or impact from any manufacturers or sales agent websites. Learn more
- BrandTweruna
Last update on 2026-10-03 / Affiliate links / Images, Product Titles, and Product Highlights from Amazon Product Advertising API


How to Refinish a Fiberglass Pool

How Do You Keep Raccoons Out of Your Pool?

How to Fix Cyanuric Acid in Your Pool

How to Shape a Pool Cue Tip to Stop Miscues

Best Far Infrared Sauna Sauna Heats: Top Picks of 2026

11 Best Far Infrared Sauna Carbon Fiber Heaters of 2026 For Balanced Full-Body Heat

11 Best Carbon Far Infrared Sauna of 2026 For Even Heat

10 Best Bluetooth Speaker For Sauna of 2026 For Heat and Steam


